Sunday 28 August 2016

Chacabuco with 'Simplicity in Practice'

I thought that it would be interesting to try an historical action using Neil Thomas's  Simplicity in Practice rules, so I decided to have a go at Chacabuco. It's a nice small action and, when I tried it with my own Liberated Hordes rules, it gave a couple of interesting and close games.

I made two changes/additions to the rules as written. Firstly I used Elite and Raw units. The former ignore the first DP inflicted on them, whilst the second start the game with one DP already inflicted. Secondly I refined the modified melee system I used last week. Both sides roll 4D6 in melee. The side with the most advantages, as listed in the rules, gets an extra 2D6 for each such advantage. A flank/rear attack counts as two advantages for these purposes. Each dice which scores a 4+ is a hit, and the side with the most hits wins the melee. In the event of a draw, the side which rolled the fewest dice wins.

The forces were as follows:

Patriot: five Close Order Infantry, two Elite Cavalry, plus one Close Order Infantry and one elite Cavalry on a flank march which arrives at the end of any Patriot turn after the first if they roll a '6'.

Royalists: five Close Order Infantry, one Light Infantry, one Raw Cavalry, one Artillery.

Victory would go to the first side to rout at least half of the enemy units.

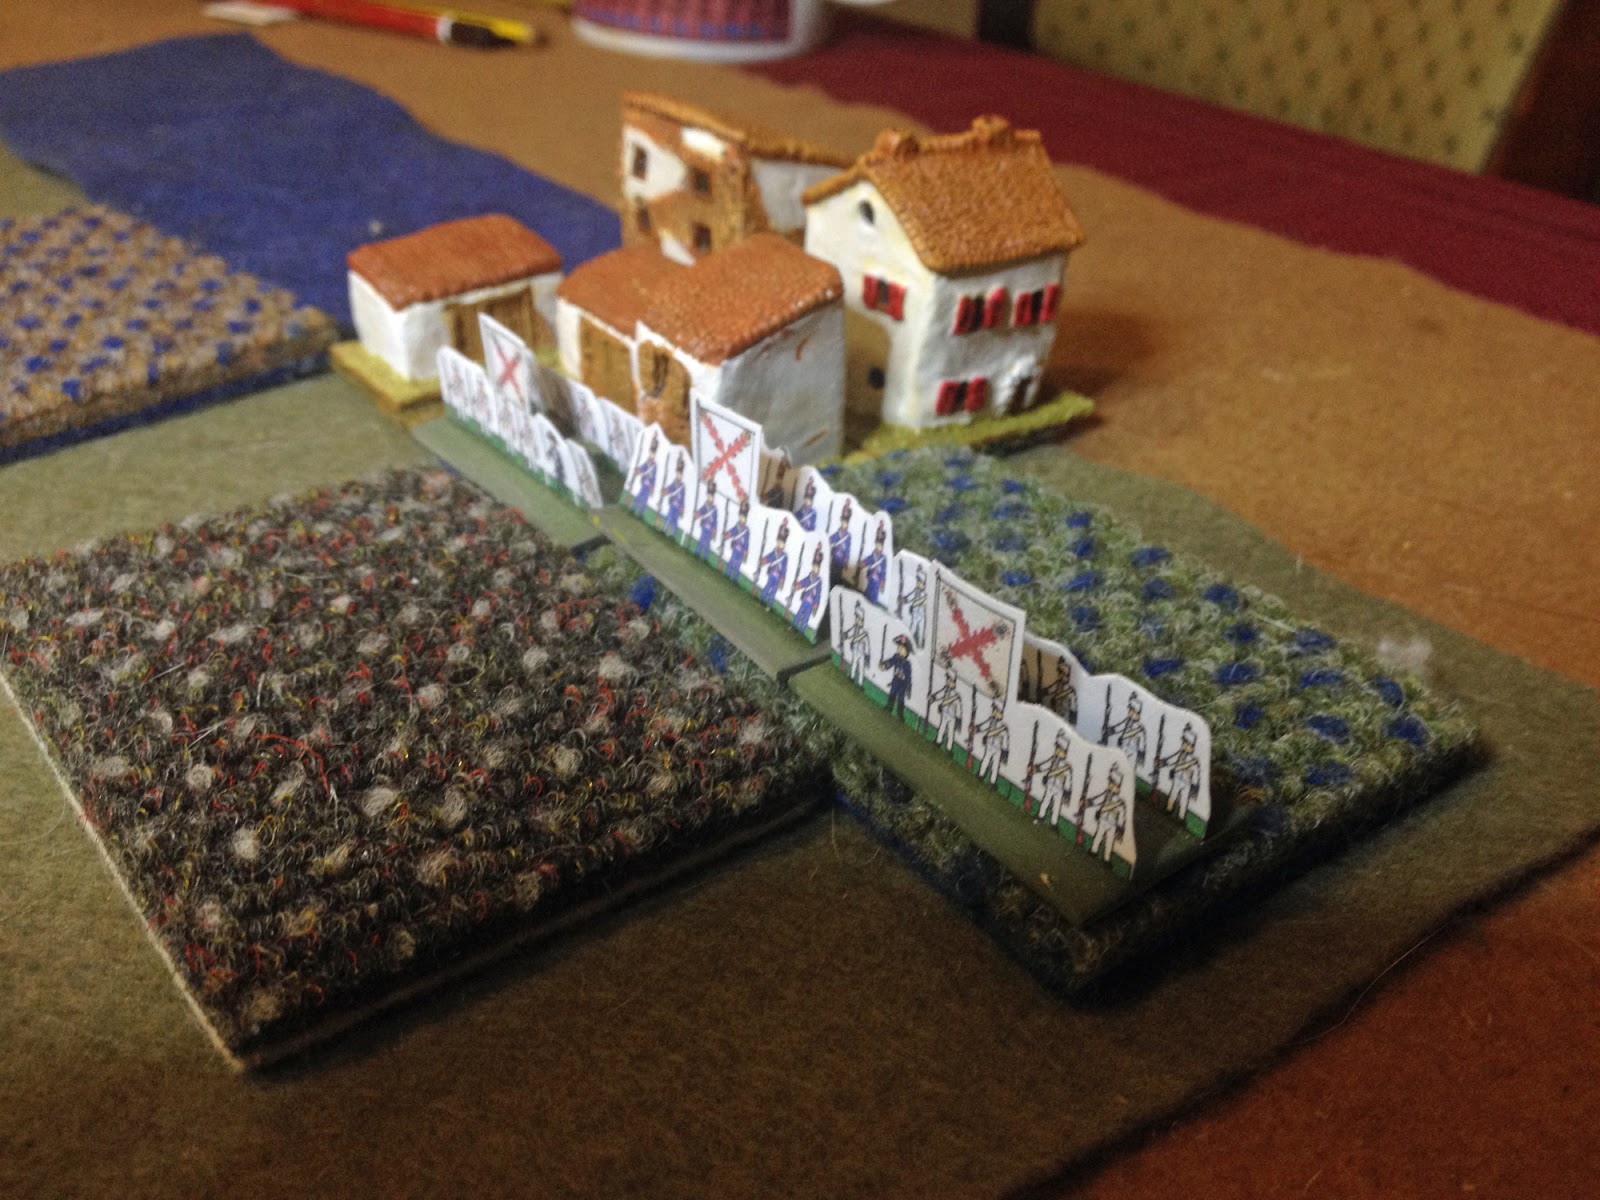
This was the setup. I used a 16" square board, units on a 40mm frontage and reduced all distances by a half. The Patriots all started off-table, most in the foreground and with the flank march appearing to the right. The Royalists were set up along the hill-line in a roughly historical deployment.


The first Patriot troops entered the table.


The Royalist skirmishers moved out to take the advancing infantry under fire, and the Patriots turned a unit to engage them.


Meanwhile the rest of the Patriot force advanced cautiously, hoping that the flank-march would appear. The Royalists opened up a steady fire from their artillery.


The Patriot cavalry charged its Royalist counterparts. The Royalists had more support, but the Patriots counted as better formed, since the Royalists started with a DP. This was an even fight.


The Patriots were repulsed.


The Patriot infantry was now engaged in a firefight all along the line. To the right of the picture two Patriot units were shooting at the Royalist skirmishers, who were now looking a little weak.


The skirmishers broke.


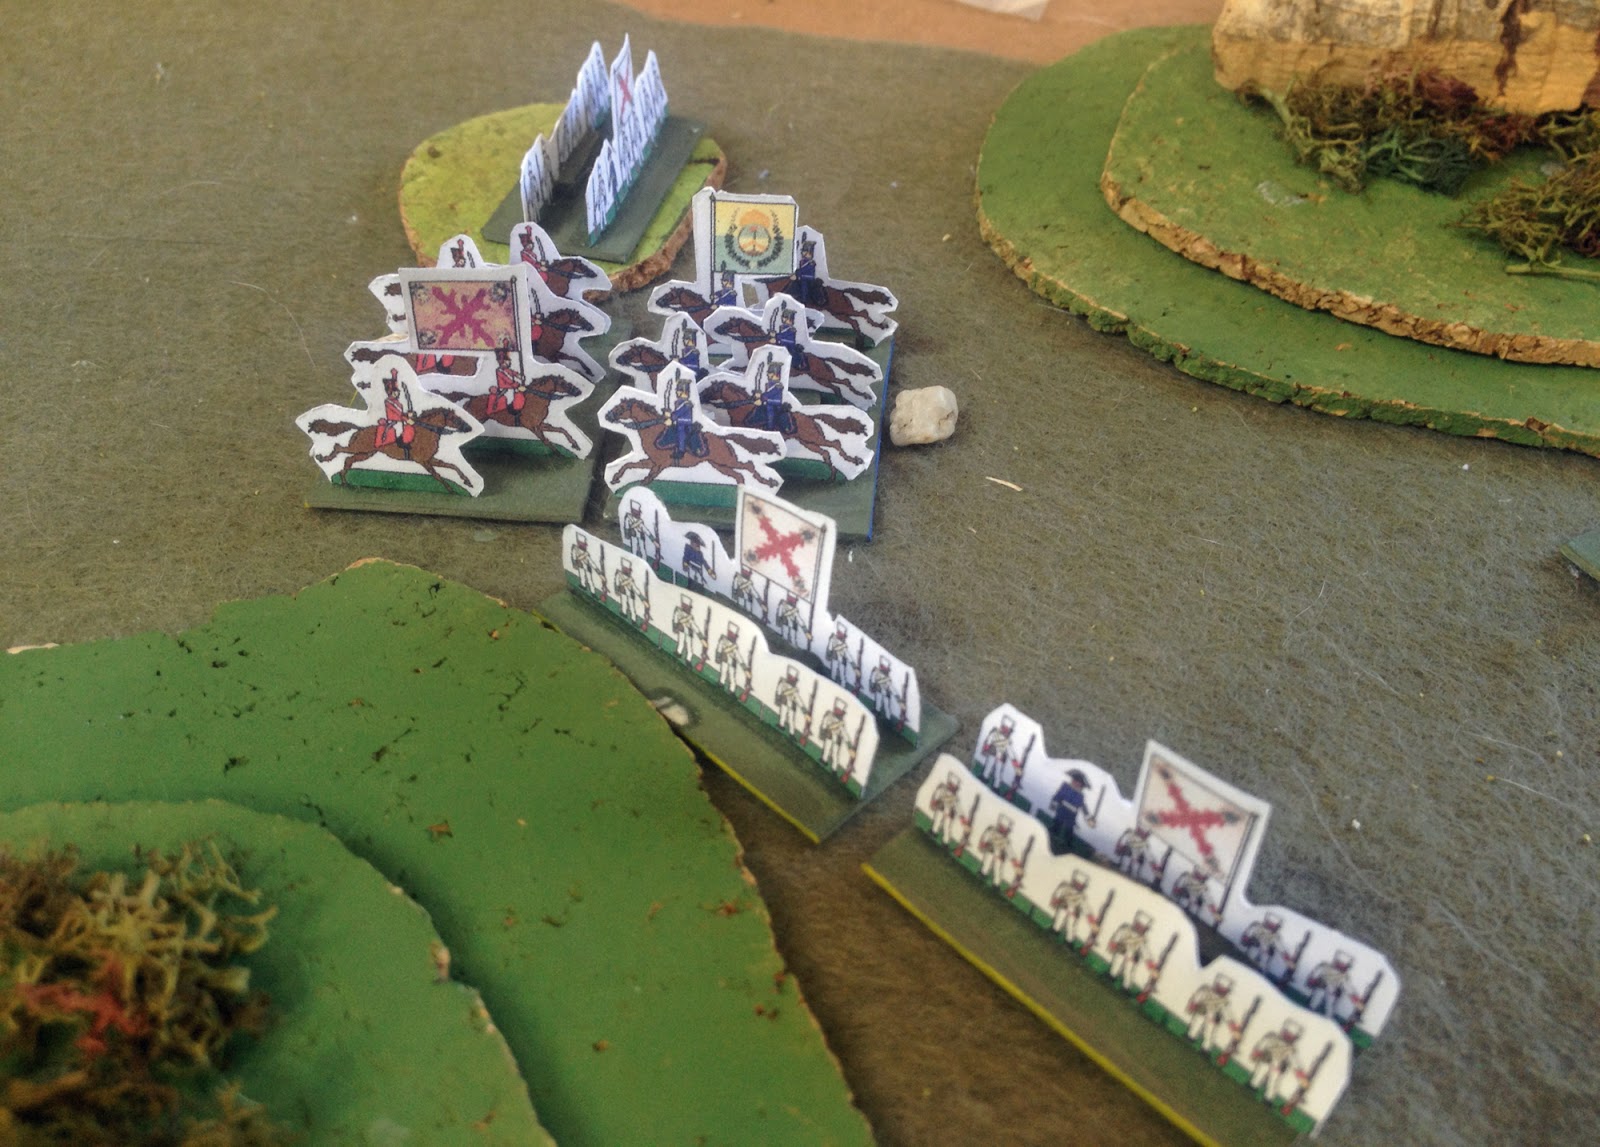
The second Patriot cavalry unit charged the Royalist cavalry.


It retreated as well.


With the Patriot infantry now tied down in a firefight, the Royalists swung a couple of units out of their line in order to fire on the Patriot cavalry


This left the cavalry with little choice but to charge in again and try and break through the Royalist horse.


It failed, fell back and was destroyed by Royalist musketry. Meanwhile Royalist musketry was breaking up the Patriot infantry line as well.


The Patriots reorganised in order to get more muskets to bear.


Royalist infantry turned to bring the Patriot line under fire and got charged in the flank by Patriot cavalry (even playing solo it's possible to make silly mistakes like this).


The Royalist infantry retreated to the hill, and the exchange of fire between the lines continued. At this stage neither infantry line had enough of an advantage to consider a full charge.


The Patriots had worked an infantry unit onto the Royalist flank. It charged ...


... and the Royalists fled. In addition another unit was lost to musketry.


Both sides were no getting close to breaking, and the Patriots still hadn't seen any sign of their flank march. The Royalist cavalry charged again, whist their artillery kept up a steady fire on the Patriot's Argentinian infantry.


Again the Patriot cavalry was driven back.


The Patriots pulled back their weaker units so that a sudden break didn't see their army collapse. It was getting that desperate. Meanwhile the Royalist cavalry charged again; if it defeated the Royalists this time, the battle would be lost.


The Patriots won their first cavalry combat, staving off defeat!


Both sides took time to reorganise, looking for an opening that would break an enemy unit and give them victory.


The Patriots pushed forward and took the Royalist artillery under fire. The gunners ran, and that was enough to break the Royalist army.


At that moment the Patriot flank march showed up.


This was a very close game, with good and bad luck on both sides. The Royalist cavalry were the true stars of the battle, only losing one close combat despite their downgraded status. Sadly the combat they lost was the one that could have won them the battle. The Patriots struggled towards the end, not quite having the numbers to keep moving forward and put pressure on the Royalists at the same time. The flank march would have been helpful there, forcing the Royalists to deploy at least some units to meet it.

I'm tempted to try this battle with Black Powder now - it will be a small game, but it will be interesting to see how  third set of rules covers it.

Friday 26 August 2016

Ligny - Black Powder in 15mm

Last night we played Ligny (some early 19th century battle set outside of South America, between the French and Prussians, I believe) using Black Powder, 15mm figures and Black Powder's inches converted into those continental mini-inches they call 'centimetres'.

Gary put together a fine scenario with plenty of troops, and Ralph has done an excellent job of writing it all up HERE

I took a few pictures, which you can enjoy after reading Ralph's account.

Before we started, Ralph gave us a solemn reading from one of his holy books - 'Albion Triumphant', I think. 'Blessed are the British, for they shall inherit all manner of good national characteristics' I believe was the subject of his sermon. But the British weren't in this battle.


These are the Prussians. And a windmill. Occupied by a mouse. I saw a mouse! Where? There on the stair!


Before we started, Bryan explained flank charges to us. Our club's Yahoo Group has seen more electrons expended on flank charges in Black Powder in recent weeks than on any other subject in the entire  history of wargaming.

We had one flank charge all evening.


The French, in column. Having seen the mouse in the windmill (Where? There on the stair! Where on the stair? Right there!), they rushed to rescue it from the Prussians.


More French columns, also intent on rescuing the mouse. A little mouse with clogs on.


Napoleon hid behind a house and made sure that his artillery didn't do anything useful all game.


A pretence at tactics - the French columns advanced on one of the defended villages between them and the mouse in the windmill with skirmishers screening them from the worst of the Prussian fire. The mouse was so happy that it went clip-clippity-clop on the stair.


The French cavalry appeared.


The French charged the villages. It all looked very impressive.


Prussian cavalry. There was more of this than there was French cavalry and, to be honest, it was about as good. And they mostly hid behind the stream


The French cavalry skulked about in disorder as their commander exerted all of his efforts trying to get their artillery into a decent firing range. He failed to do this for the whole battle.


The glorious sight of a massive Napoleonic battle.


The same glorious sight, but with more table clutter.


And that was it for my pictures. Neither Ralph or I managed pictures of the actual final assaults on the two villages, nor Bryan's skirmishers getting routed by Prussian cavalry nor the same Prussian cavalry being routed by dashing French hussars.

This was an ambitious game to play on a Thursday evening, with players who were a bit rusty with the rules and a lot of figures on the go as well. Gary did a great job putting the scenario together, and the sight of the massed 15mm figures was pretty spectacular. Part of the reason for playing at this scale was to allow us more sweeping moves on a reasonable sized table, but we still managed to cram the whole thing int half of the available playing space. We're just typical wargamers; give us an eight foot table and we'll fight the battle in a three foot section every time.

The mouse remained in the windmill. It sang every morning: "How happy I am." So that's OK then.

Remind me not to drink before I write blog posts.

Thursday 25 August 2016

Squares in 'Simplicity in Practice'

In a post on the Heretical Gaming blog, JWH was wondering how to incorporate squares into Neil Thomas's Simplicity in Practice rules, but doing so without actually changing formations (since the rules use single-base units) or using markers.

I suggested a couple of ideas in the comments, but having now played a couple of games and read through the design notes I think I have come up with something simple an workable.

The rules already penalise cavalry from charging infantry frontally, by giving the infantry a combat bonus. In addition only one unit may ever engage an opposing unit in melee. So I thought that I would work with these two factors.

So, my idea is this. Before melee is resolved, COI that have been charged in the flank by HC, DG or LC may make a roll to see if they can 'form square'. This succeeds on a 3+, and allows the COI to immediately turn to face the cavalry. However subtract 2 from the roll if the cavalry are eligible to receive support from at least one friendly ART or COI unit.

The rationale behind this is as follows. Cavalry are penalised if they attack COI frontally, so flank attacks become attractive. 'Square' basically allows the COI to avoid flank attacks and put the cavalry at a disadvantage. The roll covers whether the unit forms it in time. You could adjust it for unit quality if you like, but see below. However squares are vulnerable to enemy infantry and/or artillery, so I make the roll harder to achieve of the enemy cavalry is supported by such troops.

I did consider adding in a modifier based on how many DP the infantry unit has, but these are already factored into the melee calculation anyway. To some extent the rules for unit quality factor this in as well, so can be excluded from the roll on that basis.

I have tried to keep the rule, and the thinking behind it, in keeping with the original design parameters and the Neil Thomas Way of Doing Things. The next step is, of course, to try it out in an actual game.


Tuesday 23 August 2016

One Hour Wargames - Scenario 21 - Twin Objectives

Having now acquired the original version of Neil Thomas's Simplicity in Practice rules, I thought I'd give them a go in their almost basic form this evening. I say 'almost basic'; I still had far too many reservations about the melee system, where even a single advantage seemed to tip the odds so far in the holder's favour that, to some extent, for all the dice being rolled the results were ridiculously predictable. So I tweaked the melee rules. I kept the idea of rolling four dice, as this ties in with the firing. And I still added two dice for each factor listed, except for flank/rear attacks, which added four dice. But instead of adding up the total of the dice (which is, let's face it, a bit of an effort in what is otherwise a set with fast mechanisms), I simply read each die scoring 4 or more as a 'hit'. The side which scored the most hits won the melee, with ties going to the side which rolled the fewest dice; they win by virtue of getting the highest proportion of hits.

The rules were designed for fighting the Charles Grant Tabletop Teasers. So they struck me as a perfect set to use for a One Hour Wargames scenario, and looked like they'd be OK for the next one in my progressive refight - Twin Objectives. So I got out the paper Wars of Liberation armies, and set the game up ...

It's 1819. A column of Bolivar's army is moving towards the small settlement of Papel, on a curve of the Orinoco River, when it encounters a Royalist force blocking its line of march and holding the village. In addition the Royalist's local indian allies are lurking in the forested hills to the south west of the village. Both objectives must be cleared of the enemy before the advance can continue.

The Republicans had three units of infantry, one of light infantry and two of cavalry. The Royalists had three units of infantry and one of light infantry. This would be a tough one for Bolivar's troops, since neither objective was one that could be assaulted by the cavalry that made up a third of their force.


The Royalists deployed their infantry in and around the village.


Meanwhile their indian allies lurked in the woods.


The Republicans deployed the cavalry on their right, the infantry in the centre and their own light troop on the far left.


With the town looking  tricky prospect, the Republicans went for a risky strategy; they would assault the town with the bulk of their force, and hope that their light infantry would be sufficient to drive off the indians.

The light troops entered the woods, and a firefight ensued, muskets against arrows.


Bolivar's men advanced rapidly on the village.


Closing up, the cavalry was thrown straight into the attack. Frontally charging the enemy infantry was not a great plan, but the hope was that the second unit of cavalry's support would offset this disadvantage.


The cavalry was repulsed, in considerable disorder.


It fled at the next volley from the Royalists. The other unit of cavalry took shelter behind its infantry.


The infantry lines exchanged musketry for a couple of turns, but it didn't go well for the Republicans, who could make little impression on the infantry holed up in the village, and who lost a unit to fire from those troops deployed outside the village.


More boldness was required; the cavalry was hurled into a wild attack on the infantry outside of the village so that the Republican infantry would be supported in a sudden, desperate attack against the objective.


The fighting was fierce ...


... and the cavalry broke their opponents. In fact it was a draw, but since the cavalry were rolling fewer dice they won the tie. Unfortunately the infantry assault on the village itself was repulsed.


Meanwhile, in the woods, very little was happening. Both units had taken one 'hit', but a result was looking unlikely.


Back at he village the Republicans, with nothing to lose now, went in again.


This time they forced the Royalists back.


The cavalry threatened the other Royalist infantry unit, in order to prevent it reinforcing the village. The infantry responded by taking the horsemen under a steady fire.


With the village under threat, the Royalists needed to do something decisive. With the Republican light infantry now on two hits, the indians charged ...


... and massacred their opponents. They now had undisputed control of the objective, and the Republicans had no time, or spare units, with which to capture it. Their first move gamble had failed.


There was still a chance of taking the village, and salvaging some honour out of the engagement.  A mostly fresh Republican unit charged the Royalist defenders ...


... but they were driven off. With both infantry units close to breaking, and their cavalry unable to attack the objective, the Republicans fell back to lick their wounds.


So a victory to the Royalist defenders.

On the whole this wasn't that exciting a game, despite the write-up. There was little scope for manoeuvre, with the Royalists pretty much static for the whole battle, and the Republicans somewhat committed to a frontal assault. It's possible that they could have swung their infantry further towards the river, to concentrate their fire on the village alone, and used the cavalry to cover against a counter-attack by the other Royalist infantry. But firing is not that decisive in these rules, as the action in the woods showed. I have fought this scenario before, almost exactly a year ago, in fact, and it gave a great little game. I think the combinations of troops in this game didn't offer as much scope as that one did.

I'm reasonably impressed with Simplicity in Practice. After this game I played another, using one of the more conventional head to head scenarios, and it gave a close and interesting game. My changes to the melee system still make it decisive, and it's still worth stacking up as many advantages as you can, but fortune now swings the way of the underdog sometimes, which is how it should be.

Follow the rest of the scenario refights HERE
Related Posts Plugin for WordPress, Blogger...